Pages

This is the blog for Brett Trafford Photography based in Leek in the Staffordshire Moorlands. More information can be found on the web site, Brett Trafford.com

Friday, September 25, 2009

Lesson 10 Improving your technique

No matter who you are or what level you take photos at, you will find that you always take better photo of a particular subject than anything else. If you take lots of photos and try to photograph different things this stands out more quickly than if you only take a few shots a year and mostly of the same type. My unknown speciality only came to light when shooting photos for my blog, I noticed that I tended to do better shots when shooting water with loads of reflection in it. So identifying what you do best is just a matter of looking at all your photos and seeing what looks the best and then seeing if there is a link.

But this post is not about playing to your strengths, you already do that, this is about using other photographers strengths to better your own.

As I have said every photographer has a style and with the thousands of blogs and web sites out there it takes only a short hunt to find loads of differing styles and approaches to photography; how to make use of this wealth of knowledge is the challenge.

First off you need to find some good sites, I use blog indexes and stumble to find new sites and I also visit people who visit me, thinking that they will either be photographers or people that visit lots of photography sites.

From just looking at different types of work you will pick up on new ways of looking at things and be inspired to photograph things you just have never bothered with before. This is all common sense and we all do it, to some degree, without thinking about it, but how many take this next step.

Before I shot my first wedding as the photographer, rather than a guest with a camera, I spent days looking at wedding photographers web sites, learning to see as they see and seeing what images I needed to capture. You do not get any second chances with a wedding so this was the best way to learn, I known this because I do it all the time, the next step after just looking at other people’s picture, recreating them.
Now by recreating them I don’t mean copying the image exactly but deconstructing the shot and trying to get the same sort of image.


I have just spent some time photographing handbags, the images were needed for a new web site, now I have never tried this before and it needed to be of a standard comparable to other sites selling the same type of thing. So I first went looking for examples of the type of shot needed and found that although the quality of the image varied, the best shots were very simple; a bag on a white back ground. Easy, so I placed the bag flat on the floor, on a white card and shot it. It looked crap. Next I sat the bag on a table with a white back drop, still crap, but by now I had 2 shots of my own to compare to the ideal and could see what I had done and also what was missing. The final shot was with the bag suspended in front of a white background, 2 flashes and some time spent in Photoshop. The learning that I got from this was immense and was something I could have tried years ago but had thought it was to easy to bother with.
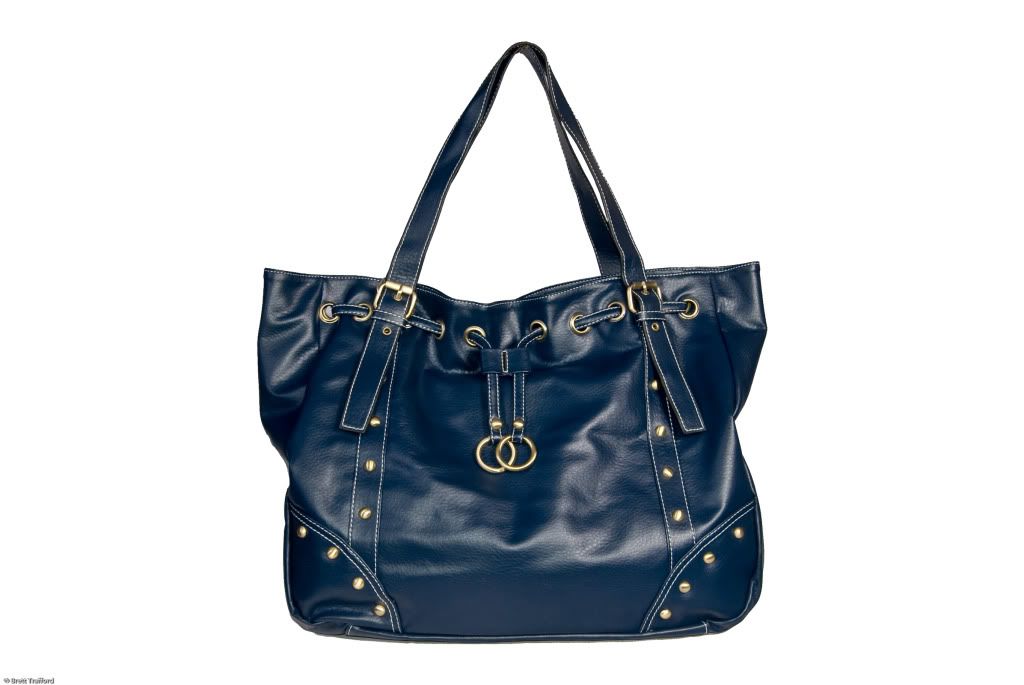


Looking at other photographers work is by far the best way to grow and if you see a style of shot you like trying to reconstruct it not only teaches you a new way of working it can give you a whole new insight to the photographer original image.

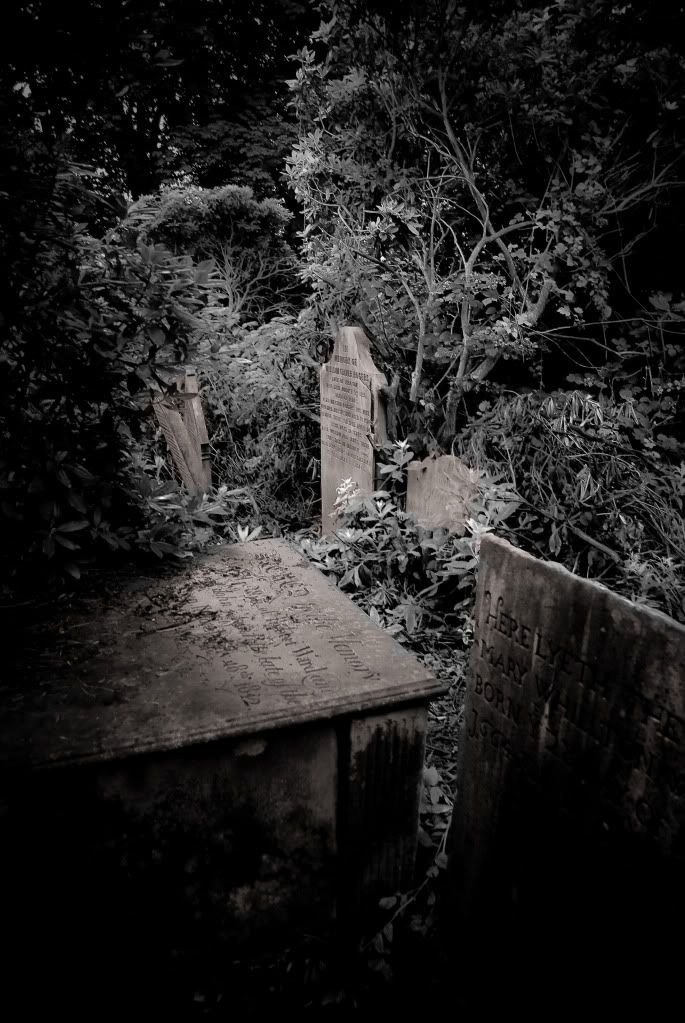
One photographer that influenced me was Lisa from Glimpses through the mashrabeya, she shoots allsorts for her blog, but there is a style that has a recurring theme, black and white images which have lots of blurring and bleeding on the edges, very narrow depth of focus also plays a large part of the over all effect. I loved the effect so much I tried a number of times to recreate it and a number of my favourite shots taken for the blogs use this style, although not as well as she does yet.

So find out what your good at and then find a shot that is totally different and try to recreate it, it won’t always work the first time, but each time you try you will learn a little more

Friday, September 4, 2009

Bretttrafford.com

Some times fate forces your hand and this is one of the prime examples, as I mentioned earlier I have had some problems with my web site host and now because of their change in policy I have had to rethink my whole web strategy. For nearly a year I have been unhappy with my main web site but have been unable, because of time or fitness, to do anything about it, but now I have had to make the changes that have been in mind for so long. So meet the new site,


So what’s new, well the layout is all new and is based on my excellent business cards designed exclusively for me by Trevor Bass. The navigation is always on screen so hoping around the site should be a lot faster. The links at the moment are quite limited as I have had to do all of this in quite a rush and am not really a web site designer, but it is built so I can add to it very easily. The sales link goes straight to my Red bubble site and gives you the chance to buy the images in a number of formats and preview what they look like on screen.

The biggest change is the address Bretttrafford.com, yes I’m now a dot com!!!! This has left me with one little problem, even though I have had a web site for year’s it now does not show up on Google so I need some help if any of you can find the time or space, can you drop a link to the site in your post or on your site, as this will increase the chances of Google and the like of finding me. Also if you visit the site I would love so feed back either on here or using the contact me link on Bretttrafford.com, (the more I link it in this post the better).

Thursday, July 23, 2009

Competition time

The saying goes that “There's a book inside all of us”, well here is a chance to let your book out. The wonderful people over at Blurb have given me 3 vouchers worth £30 off a Blurb book and to be in with a chance at winning all you need to do is pop over to my other blog 365 to 42 and follow the instructions.

Wednesday, July 15, 2009

Lesson 9 Close up photography

Time for your close up.

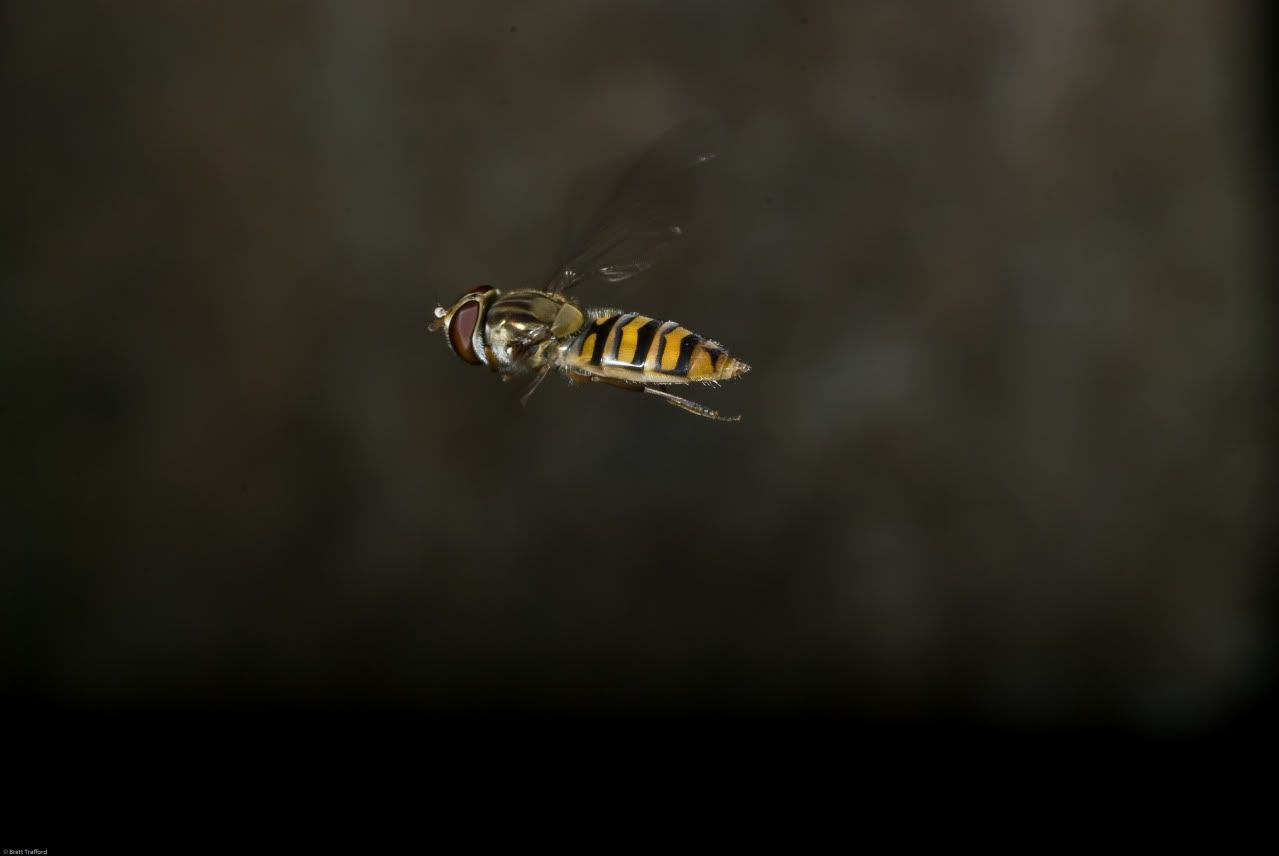
I love close up photography; it’s my fall back when I have nothing else to shoot as nearly every thing looks different when shot really close up. Also you can do it nearly any where and get fantastic results; the shots used here were taken just feet from my back door and in the rain. But what puts most people off is the thought that you need loads of expensive equipment and specialist knowledge, so here are a couple of shots and a breakdown of what was done.


The kit.

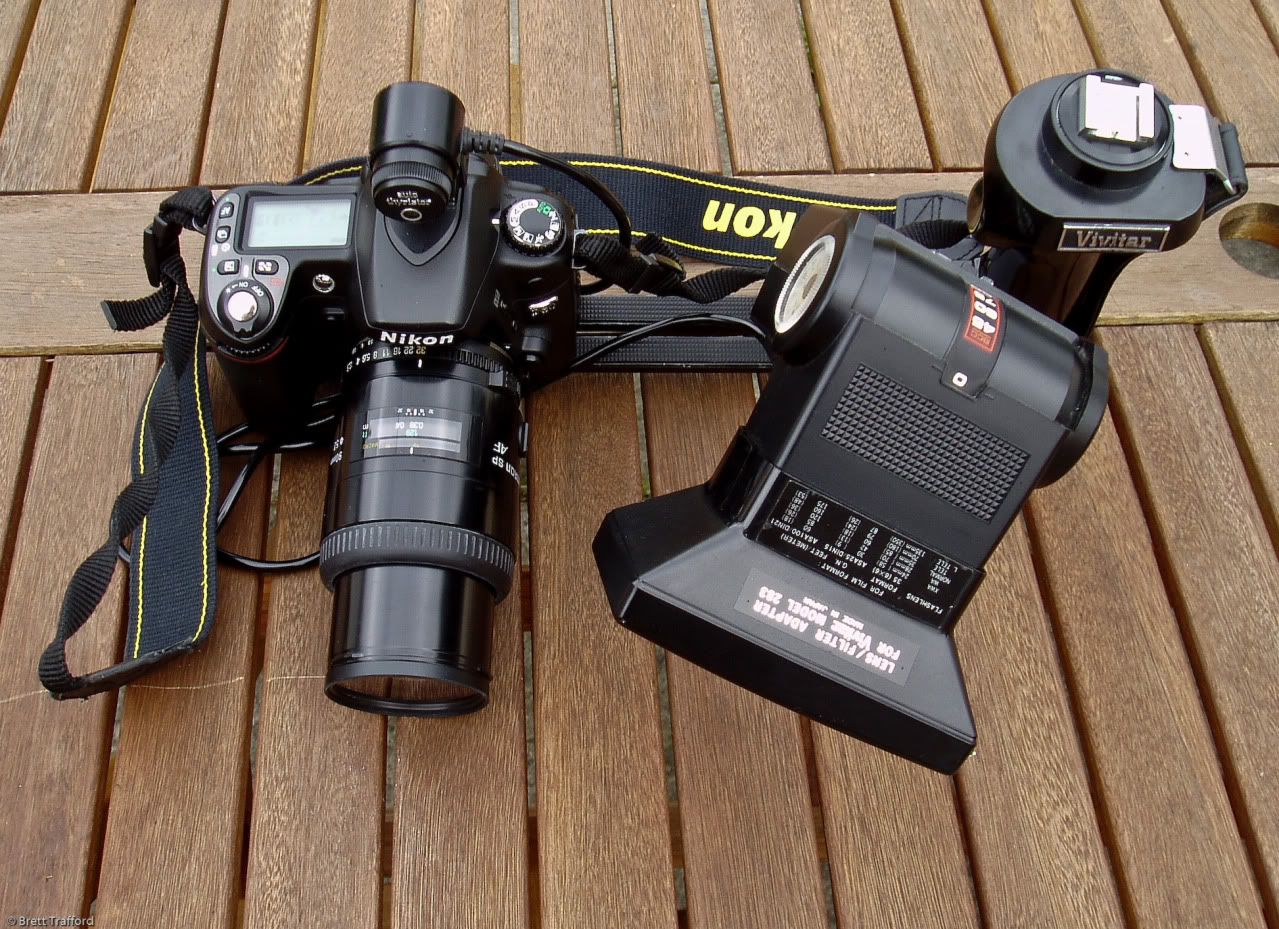
One of the best things I ever got for my camera was a special macro lens, mines a 90mm Tamron, the second I have owned having switched from the older manual version. What makes a macro lens is the ability to take an image at life size, that means the image on the negative or image sensor is life size, so that when you blow it up it look larger that it would in real life. Being a very good optical lens it also doubles up as a cracking portrait lens. This is my normal lens for close up work and is the one the first photo was taken with. With close up work your depth of focus is very small so the lens normally needs stopping down to the max it will go, reducing the amount of light you have coming in, so I normally use a flash to light the subject. The flash I use is a 20 year old Vivitar 283, set off camera and fired by a sync lead, see picture 2.


My technique

Using digital I just set the camera in manual and pick the flash sync speed, set max aperture, fix the focus and fire. I then check the shot and ether move the flash backwards or forwards, or open up the aperture until the exposure is correct. Once set I then focus on the subject by moving the whole camera knowing that when the subject is sharp in the view finder the exposure will be perfect. The only problem with this is that photographing an insect that is just over a centimetre long, with an area of focus that is only1/2 a centimetre long, while it is on a flower that is moving around in the wind, does try your patience. The shot of the Hover fly hovering was easier as it was keeping very still in the wind.

The cost

Well taking it fore granted that you have an SLR camera what is the cost of the extra kit. Well Tamron lenses come in all fittings and can be found second hand for as little as £150 (that’s for a Nikon fit others maybe cheaper) and new are available for around £250. The flash is old but still gettable as they seem to last forever I found a number on Ebay from £5 up to £30, be warned that with some cameras they might cause damage as the trigger voltage is quite high, check with the maker of the camera or the flash. The brackets and sync cords can be found for less than £10.

Cheaper option.

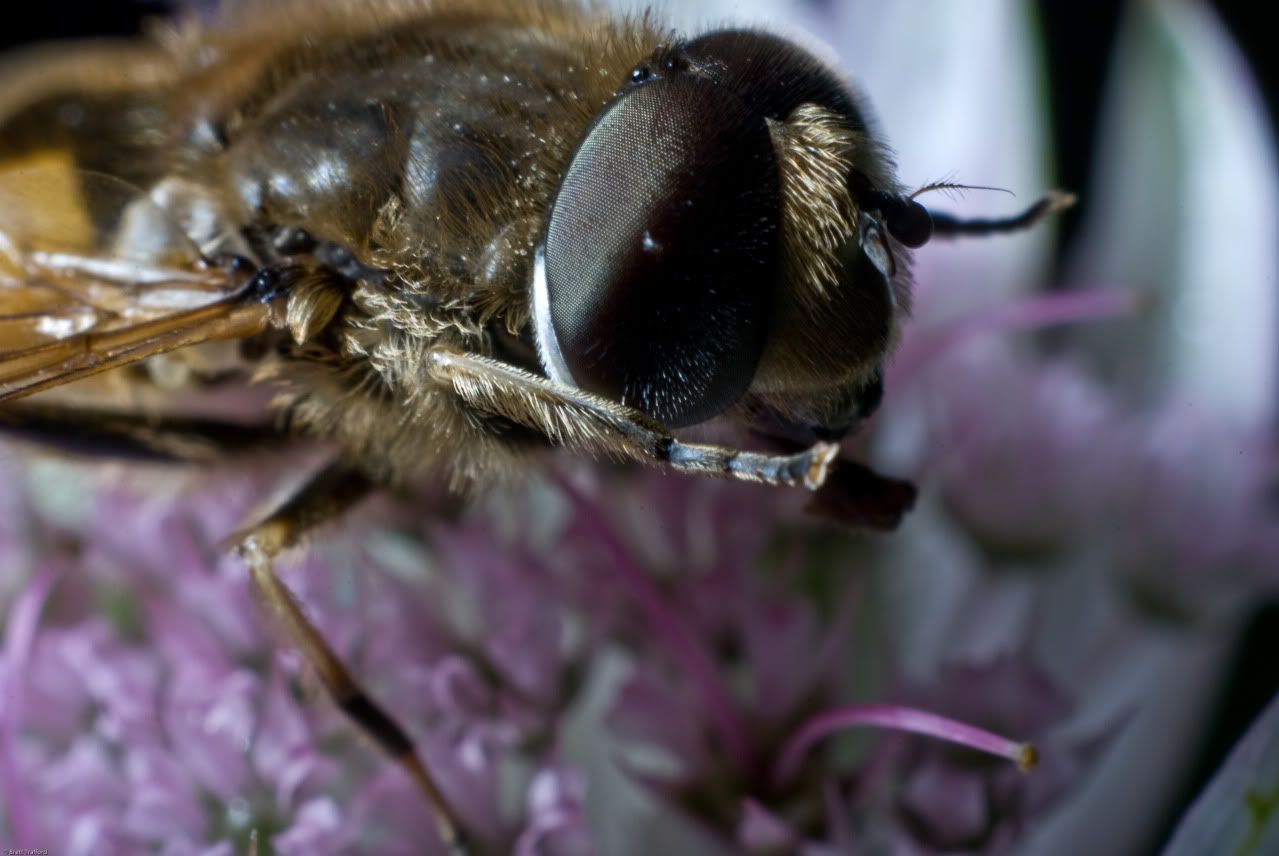
The one I favour above all others is something called a reversal ring, this lets you put a lens on backward giving you a lens that works in reverse. So a 28mm wide becomes a super close up lens, focusing to within a few centimetres of the front (back) element and capturing things at more than life size. The third photo was taken using one of these and if you compare it with the other shot you will see how much closer you can get (both shots are full frame). These rings are available for around £10-£20, and can be used with most lenses, wide zooms work very well.