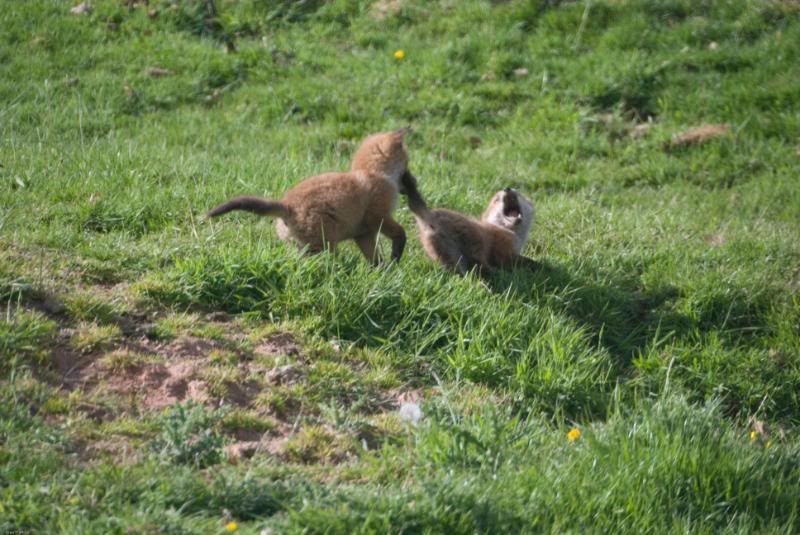
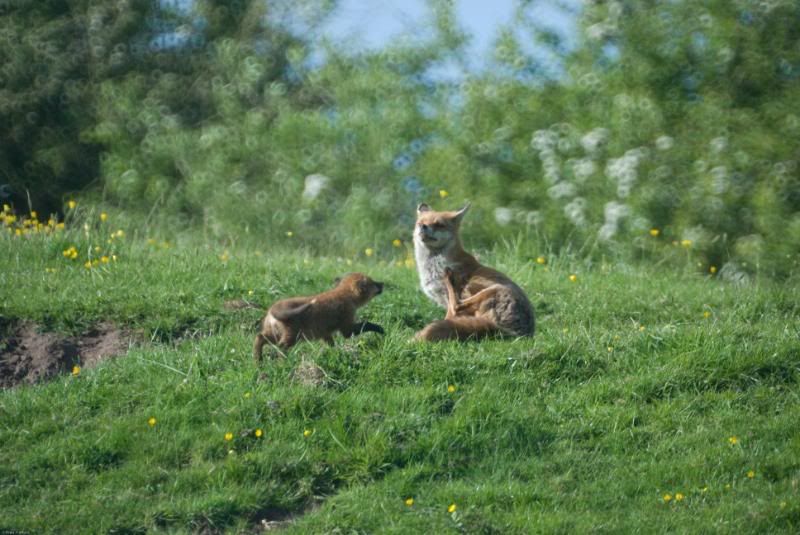
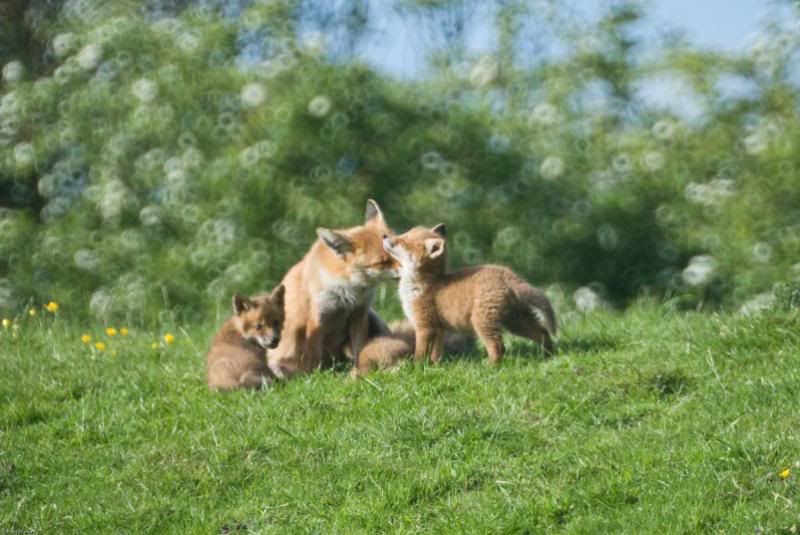
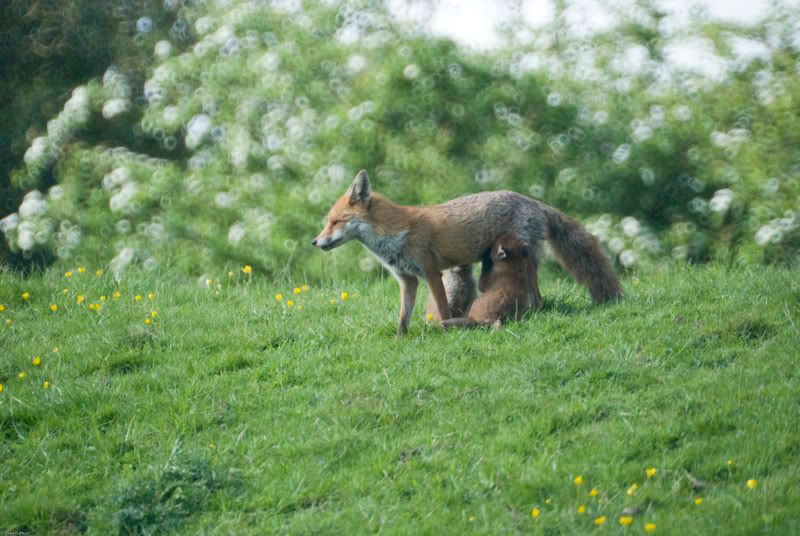
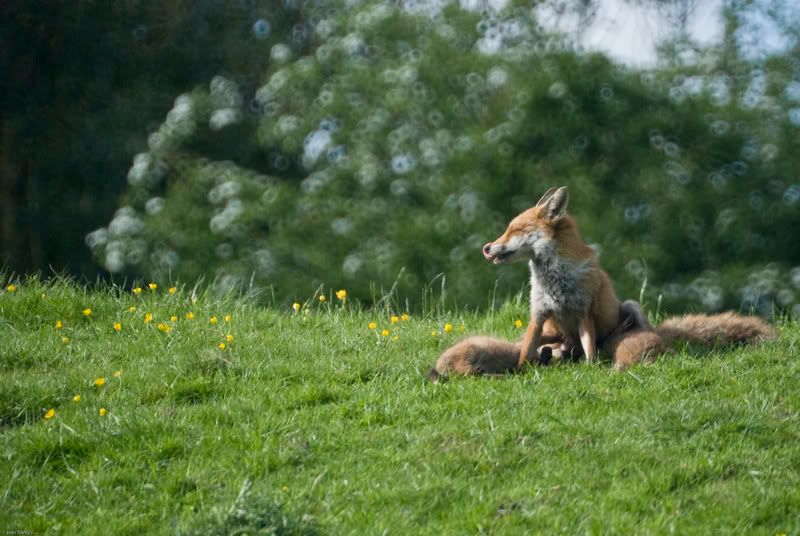
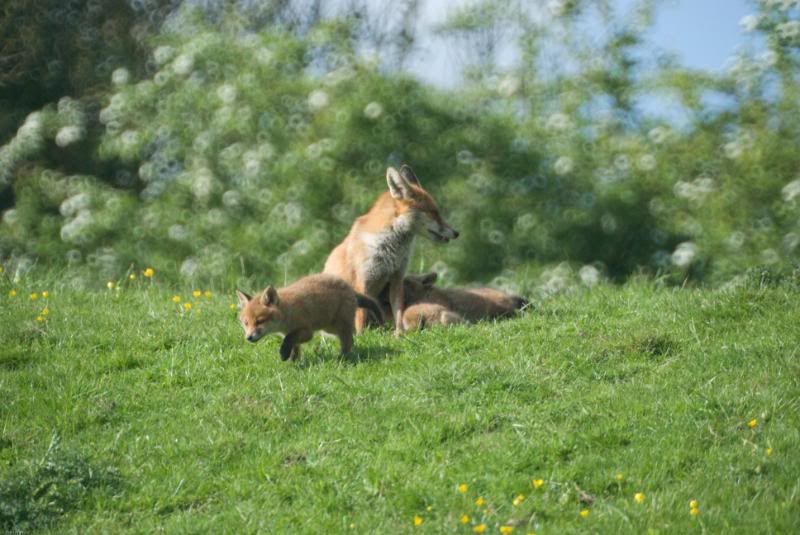
When shooting photos for a joined up image the most important thing is to plan the shot before hand, by this I mean take the shots for the project, not get home and pick shots taken as individual picture. When taking the shots,
- Set the 2 edges in your mind
- lock the exposure and focus for the whole set of shots, if your on digital take a shot of the middle that’s correctly exposed and focused and lock at that.
- Over lap the shots, the more the merrier.
- Try to pan smoothly, keeping the camera level.
Once done you should be left with a set of shots that should nearly fit together with out any computer help, like these.

The next steps take place on Photoshop CS3, it will differ on other software, but not by too much.
Select Automate, Photomerge.
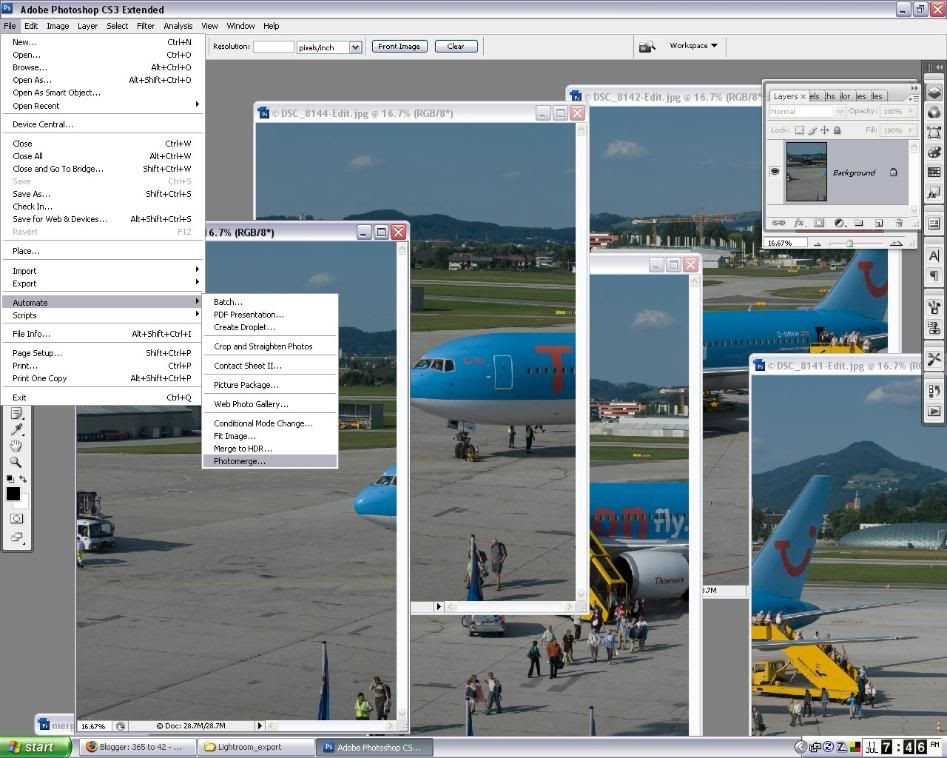
I use the standard join most of the time, but try all of them to get the effect you want, select the images and hit go.
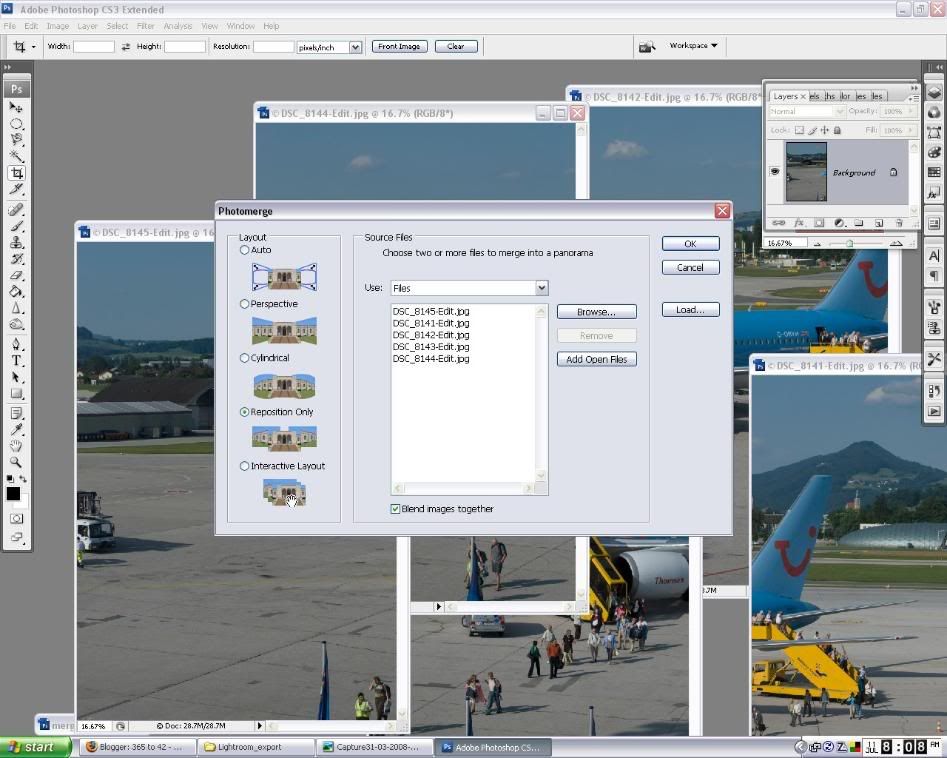
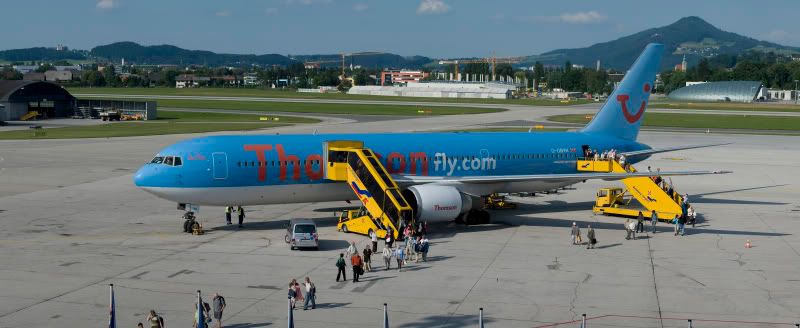
This is where the planning of the shot comes in handy, if you have taken the picture as directed the final image should be nearly perfect.
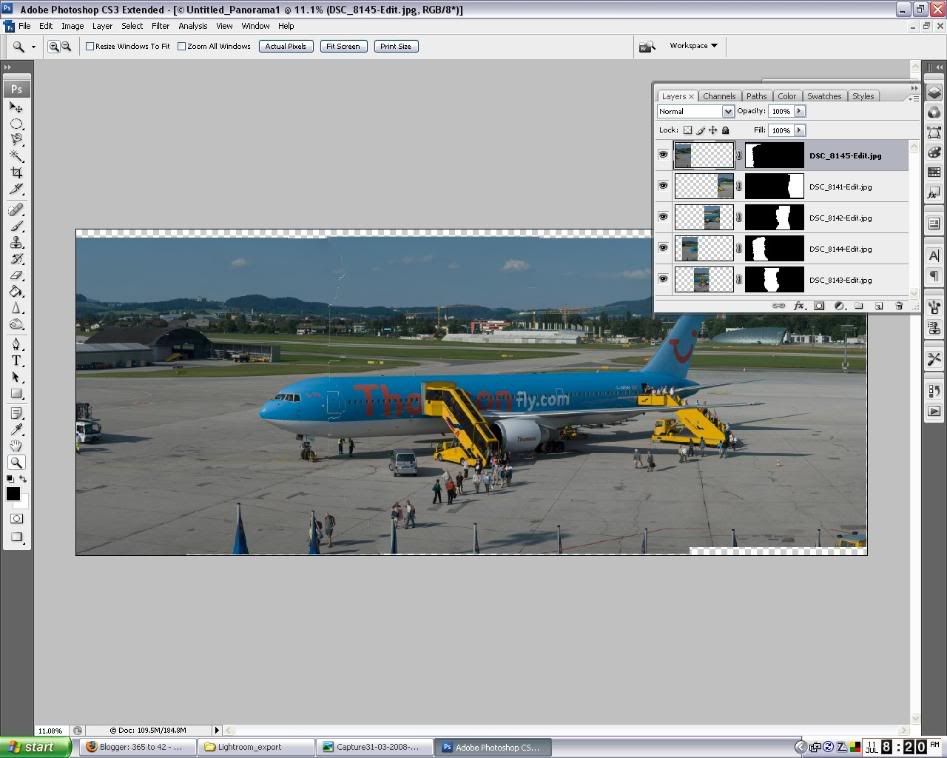
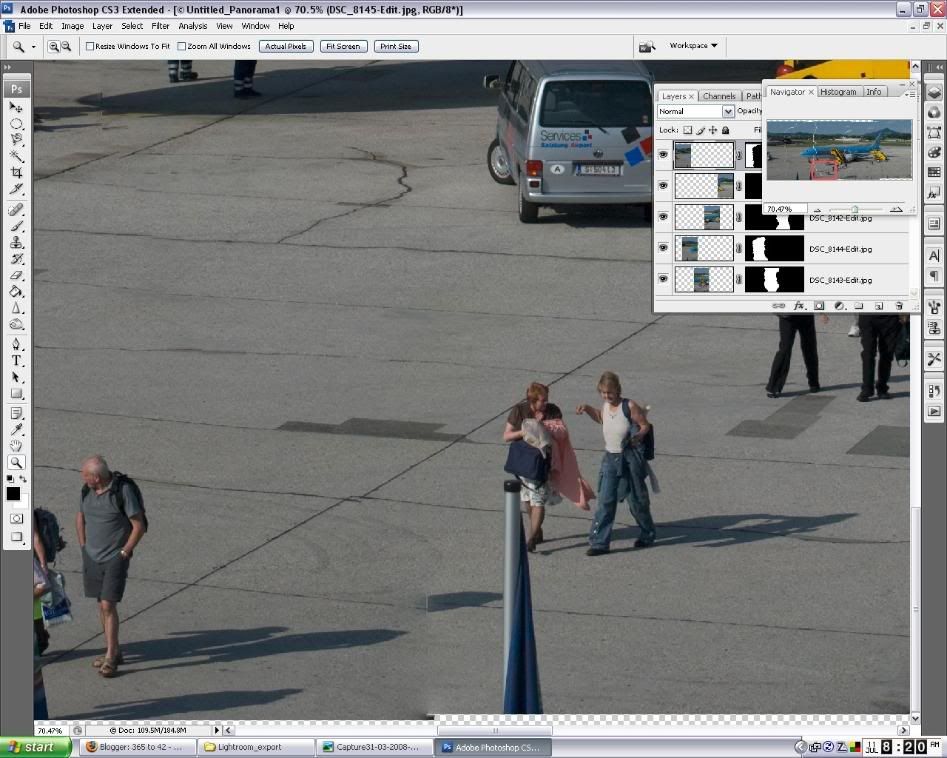
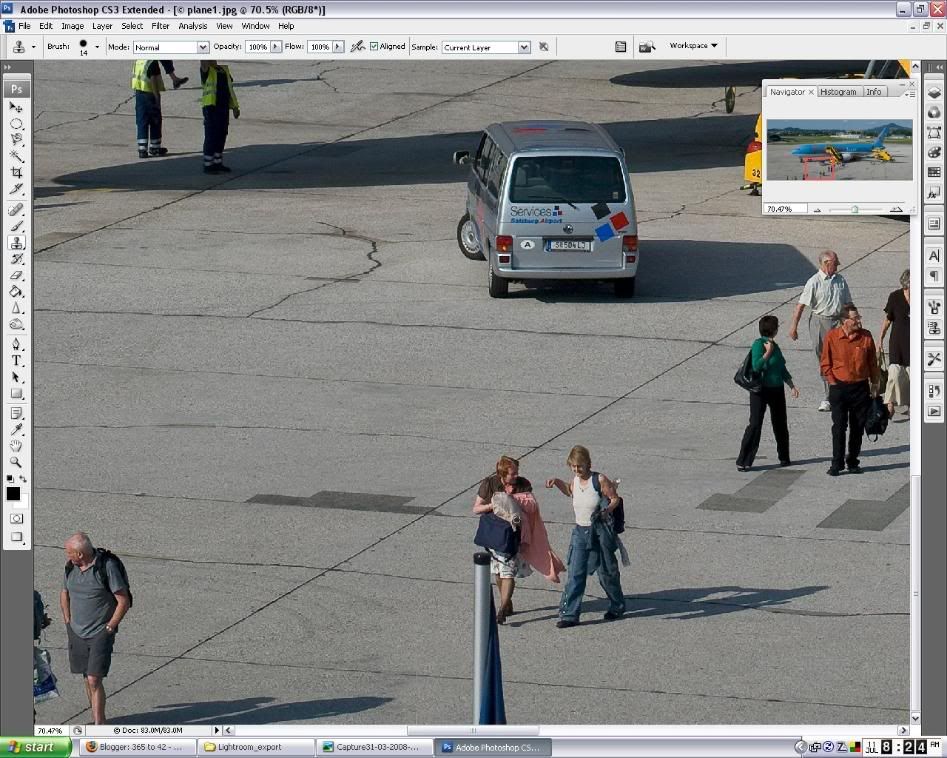
But in this case some of the people have moved giving a ghost of a shadow, a quick play with the clone stamp removed this, then you crop and save.
