Pages

This is the blog for Brett Trafford Photography based in Leek in the Staffordshire Moorlands. More information can be found on the web site, Brett Trafford.com

Saturday, February 28, 2009

Lesson 5 - Film

The last part of the camera we need to cover is the bit that captures the image, be it film or the CCD. As we have seen in the past lesson the shutter and the aperture control the amount of light let in to the camera to create the correct exposure, but there is a third variable, the sensitivity of the film or CCD.

In the early days of photography the image collector (Glass slide or tin plate, coated with light sensitive chemical) was not very sensitive and exposures were measured in minutes. These long exposures lead to the staged formal portraits of the time as the people had to stand very still for a long amount of time.


As the technology has improved and film replace the other mediums, exposure times have tumbled to the fractions of a second we have today, giving us the ability to freeze fast moving subjects. But the increase in sensitivity comes at a price, a loss of quality and this applies to digital as well as film.

To get a correct exposure you need to regulate the amount of light hitting the image collector, you do this with the aperture and shutter, but the sensitivity of the image collector is what stipulates what amount of light you need. As a rule of thumb for both film and digital, the higher the quality the less sensitive the image collector, this sensitivity is expressed in the film or speed rating. This rating has carried over to digital from film so the term stays the same for both, so I will refer to it as film for simplicity.
The speed rating for film is given as ISO followed by a figure. Here’s the Wikipedia explanation;
“International Standard ISO 5800:1987 from the International Organization for Standardization (ISO) defines both an arithmetic scale and a logarithmic scale for measuring color-negative film speed. Related standards ISO 6:1993 and ISO 2240:2003 define scales for speeds of black-and-white negative film and color reversal film.
In the ISO arithmetic scale, which corresponds to the older ASA scale, doubling the speed of a film (that is, halving the amount of light that is necessary to expose the film) implies doubling the numeric value that designates the film speed. In the ISO logarithmic scale, which corresponds to the older DIN scale, doubling the speed of a film implies adding 3° to the numeric value that designates the film speed. For example, a film rated ISO 200/24° is twice as sensitive as a film rated ISO 100/21°.”
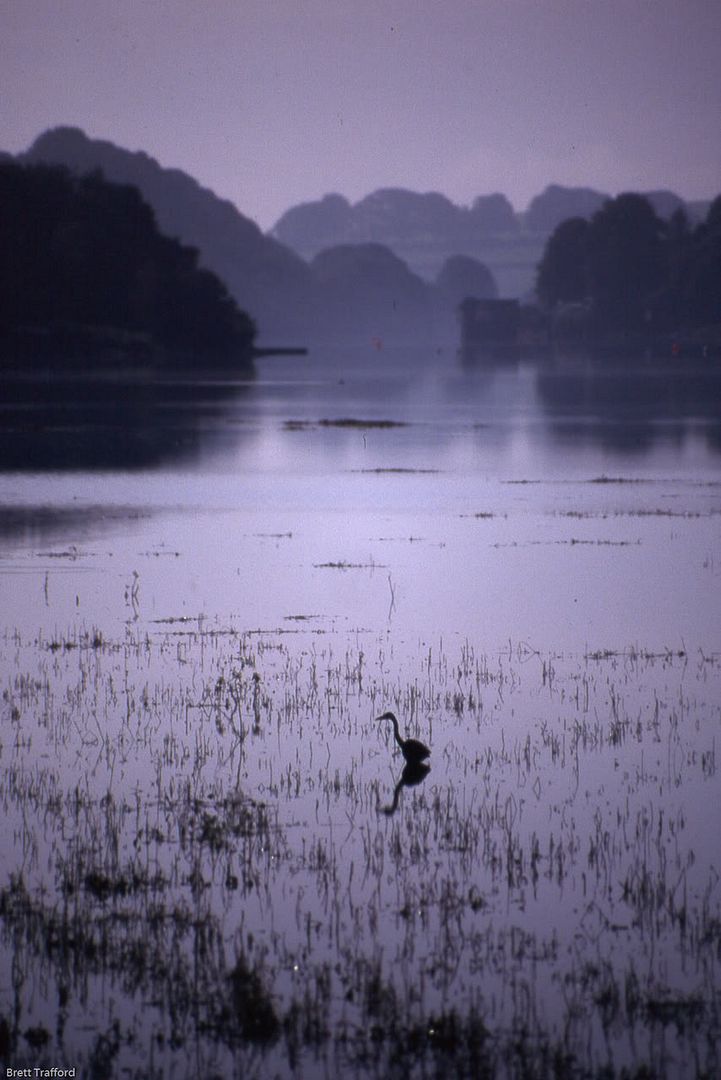
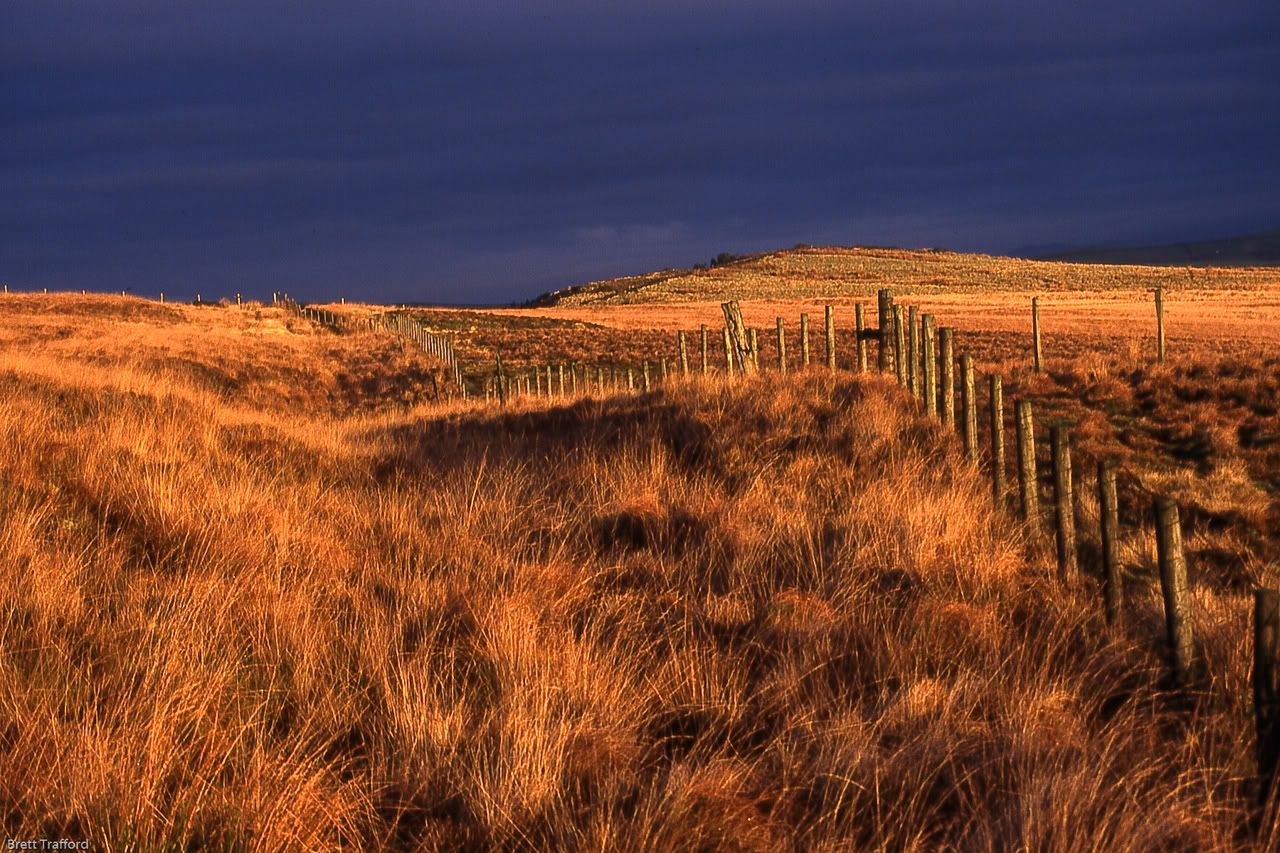
So ISO 100 is slower than ISO 200, but gives a better quality image, but what does this mean in real life. Say you are taking a landscape picture in bright daylight; ISO 100 will be great, as the camera will have loads of light to play with giving you access to a wide range of shutter and aperture settings. But take away a lot of the light, say a very dull day, and you will find that the range of settings that will give a correct exposure will diminish, limiting your creative control. But by increasing the film speed you effectively increase the strength or amount of light giving back the options you had lost, at the cost of image quality.

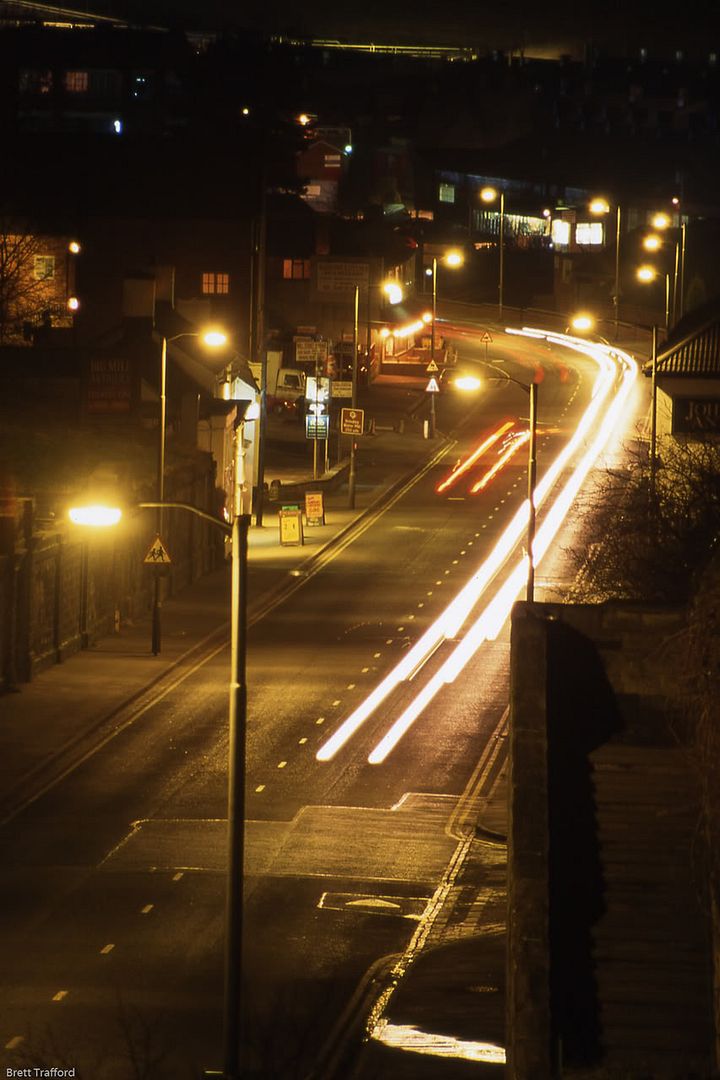
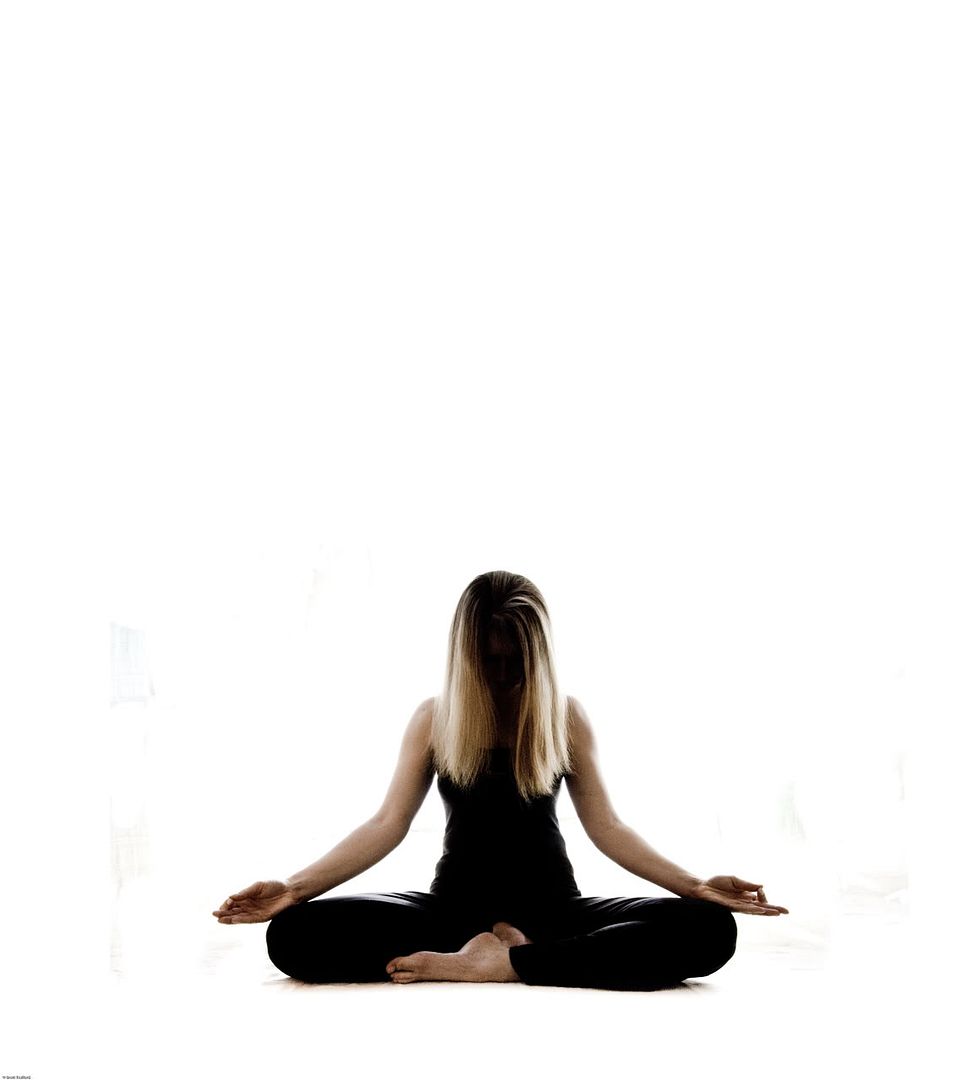
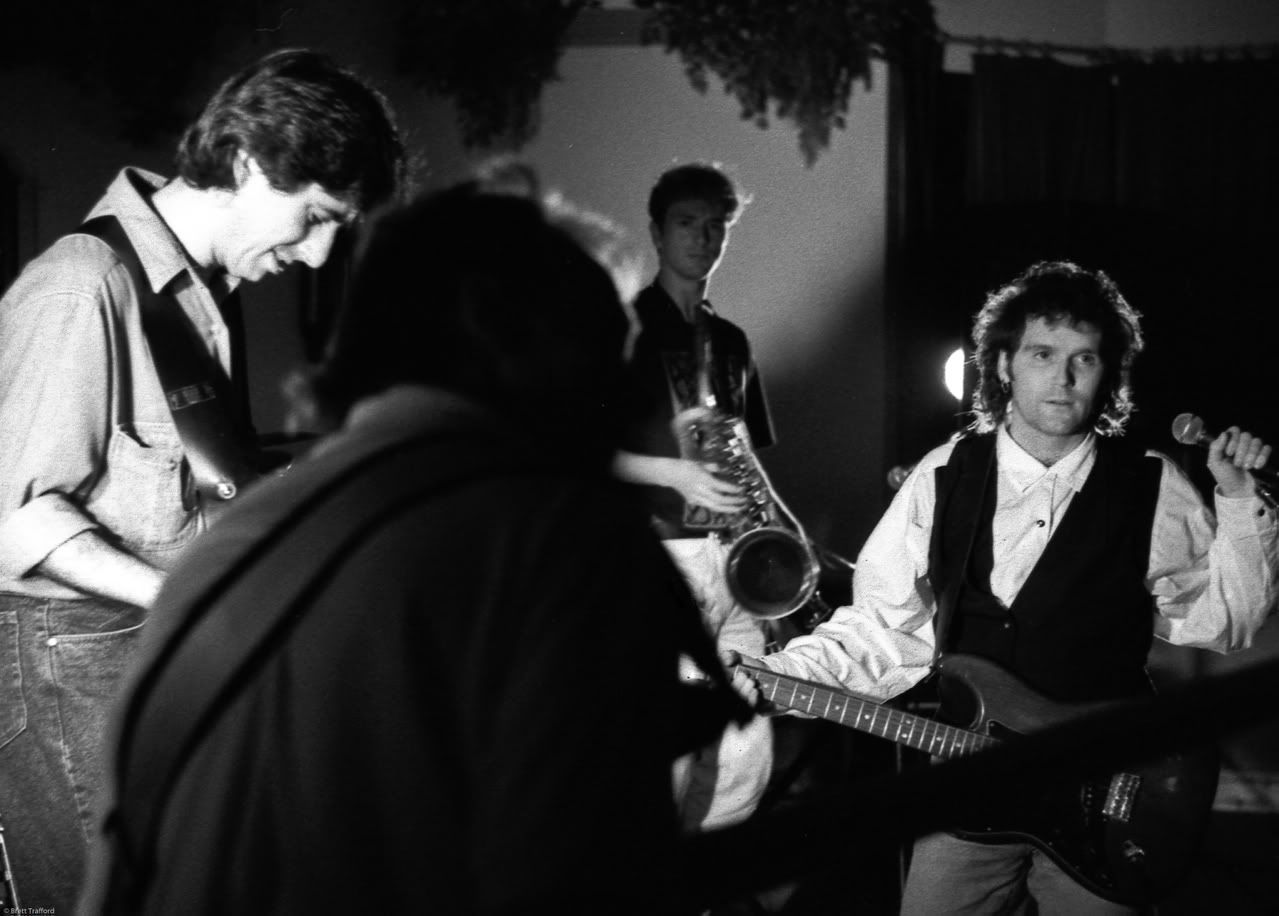
( For the full story behind this image see my post on 365 to 42 on the 02/03/09)

It’s this balance that will decide your choice, can the loss of quality be off set by the need for extra settings. For example; will the shutter speed be too low, giving camera shake to the whole image, totally ruining it, if so does the slight loss of quality but a sharp image off set this?
The real question is, how much quality is lost, this is down to you and your use for the image, ISO 100 is great but if you only look at the images on screen or in normal sized photos it is very unlikely you will notice the difference between 100 and 400, you are much more likely to see camera shake if you shoot too slow. Shooting on film you have to make the choice one film at a time, on digital you can change the setting for each shot. Even if your usage fits the above example, I would always try to keep the quality high as possible as you never known when you may take a masterpiece that you will want to print as large as it will go.

Monday, February 16, 2009

Lesson 4 - Aperture and Shutter

The Aperture and the Shutter are the yin and yang of photography, these 2 regulate the exposure and work together to affect the total image, and understanding their effect will take you along way down the road of mastering photography.

Aperture, if you look back to lesson one this is the opening that the light come through. On a camera it is normally a set of metal leaves that close in from the out side to leave a small round hole in the centre of the field of view. The wider the hole the more light can get in, if you ever hear of someone shooting wide open, this means that the aperture was at its widest. The wider the aperture the lower the number, so 1.8 is wider than 4.5, these numbers can also be seen on the lens, giving an indication of its speed, a low aperture lens is a faster one, due to the fact that wide open it lets in more light making for a quicker exposure. Due to technical restrictions, the faster lenses cost more to make, so a low aperture on a lens is also an indication of quality.

The Shutter is a metal curtain that opens and closes, very fast at times, to let a measured amount of light into the camera. The very first shutters were just lens caps that you removed for a set amount of time, say about 30 seconds, this was due to the time it took the light to effect the old types of film. Today’s shutters can move so fast that they only let in light for 8000th of a second and can be set to a wide rang of time, even up to multiple minutes.

The correct exposure for your image will be a combination of an aperture and a shutter speed, but if you move one and then move the other to compensate you will still get the correct exposure, but with 2 different settings. This yin and yang will continue until one or the other cannot make a corresponding move, giving you 10 or 20 different combinations of setting for the same exposure. Although the exposure in each case will be the same, the pictures will be affected in different ways; it is these differences that will govern your selection of aperture and shutter combination.


Aperture’s main effect is in the amount of natural sharpness it brings to the image, a smaller aperture will give you a sharper image. Now I say natural sharpness, as all cameras focus the light through a lens before it reaches the aperture. Left wide open the image taken just using the lens to focus will have a very narrow band of sharp image, think of a portrait with a blurred background. With the aperture closed down, that same shot will benefit from the sharpening from the aperture and have a detailed background. As we known the smaller the aperture the less light gets in so we need a longer shutter speed to get the right exposure.


The shutters effect on the image is mainly the way it effects movement. Take a picture of a bowl of fruit, this is not going to be moving, so how ever long the shutter is open the image will not change, but take a picture of a jet flying past and in a second it will have come and gone. By taking the picture at a fast shutter speed the amount of time the image is exposed, gives the jet no time to move across the CCD or film, leaving you with a sharper image as it will have no movement blur. The shutter also effects camera movement, as unless you have the camera on a tripod it will be moving by a small amount all the time, this is called camera shake. A faster shutter speed will also stop this from showing, a rule of thumb for hand holding a camera is a shutter speed to match the length of lens, so a 50mm lens need a minimum shutter speed of 50th of a second and a 300mm lens one of 300th of a second.

Put these 2 together and you get to the heart of camera settings, a trade off between speed of shutter and depth of focus, the auto setting on the camera will try to balance these two, giving a middle of the range shutter speed and aperture. A sports setting will try to pick the fastest shutter speed, to freeze the action, the landscape setting will try to pick the smallest aperture to give the greatest amount of sharpness in the image, and both will limit the selection based on the settings that give the correct exposure.


In most instances you will stick to these guidelines, but you could do the opposite, use a slow shutter speed on a fast subject to inject some movement into the image or a wide open aperture on a landscape to make only one item stand out as sharp. This can be done on a camera with only a limited number of settings if you pick the wrong one for the subject, as the camera will not know what it is taking and just do as its programmed.


Monday, February 9, 2009

Lesson 3 - Exposure

We have looked at the basics behind photography and touched on the different types of camera, now to start to put the bits together.
I’m starting with exposure as it gives you a better idea of what is going on both physically and mentally in your camera.
Exposure is the term for the amount of light that hits the image collector, be it film or a CCD, a correct exposure means that the image is just the right brightness. Most cameras have an auto function on them that will set up the shutter speed and aperture to get a perfect exposure every time, well nearly every time.


Lets go back and look at the term “correct exposure”, all photography is based on personal taste, what is right for one person is not for another, each photo needs treating separately, how does the camera decide what is right? It can’t, all it can do is follow a set of basic rules of thumb and try to get close to what you want.

The camera does not see a photo as you do, its not little Jimmy playing in the snow, or fireworks over the city, it’s a small dark area against a large white area or a large dark area with pin points of light. For you the small dark bit (little Jimmy) needs to be exposed correctly, the camera see that the larger area is more dominant and exposes that. Most cameras take a number of readings from the image area and find an average mid point, if 90% of the image is light and 10% dark the average will lean very heavily to the light side, shortening the exposure and leaving little Jimmy looking very dark. With the fireworks being mainly dark you will get a long exposure leaving lots of detail in the city but a mass of bright streaks in the sky. In both cases the camera will have done its job, a correct exposure for the bulk of the picture, it’s just missed the point that you were trying to make.
Understanding how your camera thinks helps you get the best out of it, knowing what it will do to little Jimmy you have the option of making him more dominant in the picture, forcing the camera to take more notice of him. The easiest way is to make him bigger in the picture, but you may be lucky enough to have an exposure lock on the camera. An exposure lock does what is says, locks the exposure, the most common way is by ½ pressing the shutter button when pointed at the item that you want correctly exposed, you then re frame the shot and finish pressing the button. The camera will take the shot but expose it as if it was looking at something else, that something else being the item you wanted correctly exposing.


Another way is to shoot manually, if you have the option, on digital it can be as easy as shooting, looking at the image, adjusting the aperture or shutter speed and re-shooting until you get the right result, if you are doing lots of the same shot, once its set right you can usually leave it.
With film it can be more costly as you wont known what is right, so you do what is called bracketing, shooting a number of different exposures so that at least one is right.
Your camera may also have different metering modes (metering is the term for taking a light reading for exposure) these are normally just different ways that the camera judges the light in a picture, so instead of using an average for the whole shot it will maybe treat the center of the image as more important, so that little Jimmy’s 10% becomes more like 50% (this is called centre weighted) or it could take a spot right in the center and make it the most important part, turning little Jimmy into 100% (this surprisingly is call spot metering). If you can use spot metering with exposure lock, then regardless of the conditions what you deem important will be exposed correctly.


A lot of cameras come with program modes, these are auto modes but with a twist, the camera will have been set up to take certain types of image, landscape, night time or back lit, and by selecting the mode it will try to retake that type of image again. So for little Jimmy the back lit mode (as the snow behind will be a lot brighter than he is) will adjust the exposure to compensate.
Now comes the fun part, do you really want to see little Jimmy’s smiling face, or artistically is the small dark, featureless figure, against the vast snowfield more pleasing to you. As I’ve said before exposure is down to personal taste, your camera will try to help but don’t be afraid to show it whose boss, correct exposure is what’s correct for you.