Aperture, if you look back to lesson one this is the opening that the light come through. On a camera it is normally a set of metal leaves that close in from the out side to leave a small round hole in the centre of the field of view. The wider the hole the more light can get in, if you ever hear of someone shooting wide open, this means that the aperture was at its widest. The wider the aperture the lower the number, so 1.8 is wider than 4.5, these numbers can also be seen on the lens, giving an indication of its speed, a low aperture lens is a faster one, due to the fact that wide open it lets in more light making for a quicker exposure. Due to technical restrictions, the faster lenses cost more to make, so a low aperture on a lens is also an indication of quality.
The Shutter is a metal curtain that opens and closes, very fast at times, to let a measured amount of light into the camera. The very first shutters were just lens caps that you removed for a set amount of time, say about 30 seconds, this was due to the time it took the light to effect the old types of film. Today’s shutters can move so fast that they only let in light for 8000th of a second and can be set to a wide rang of time, even up to multiple minutes.
The correct exposure for your image will be a combination of an aperture and a shutter speed, but if you move one and then move the other to compensate you will still get the correct exposure, but with 2 different settings. This yin and yang will continue until one or the other cannot make a corresponding move, giving you 10 or 20 different combinations of setting for the same exposure. Although the exposure in each case will be the same, the pictures will be affected in different ways; it is these differences that will govern your selection of aperture and shutter combination.
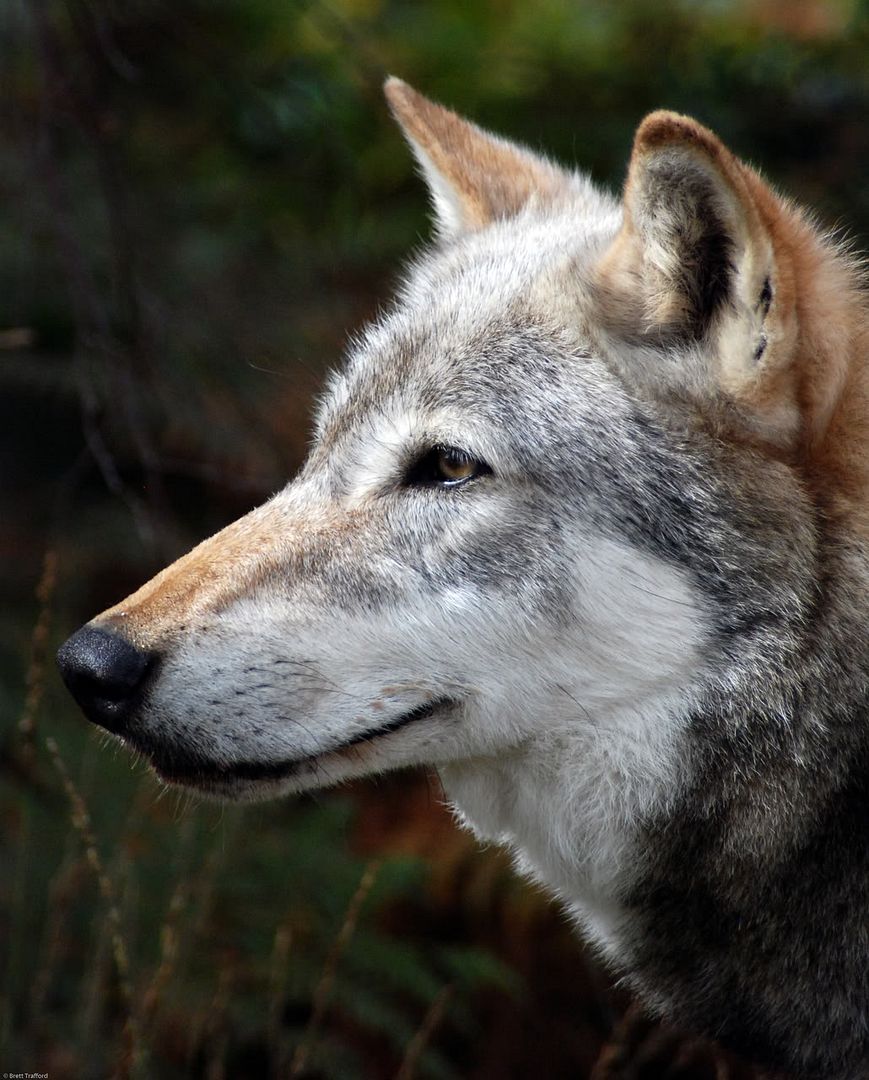
Aperture’s main effect is in the amount of natural sharpness it brings to the image, a smaller aperture will give you a sharper image. Now I say natural sharpness, as all cameras focus the light through a lens before it reaches the aperture. Left wide open the image taken just using the lens to focus will have a very narrow band of sharp image, think of a portrait with a blurred background. With the aperture closed down, that same shot will benefit from the sharpening from the aperture and have a detailed background. As we known the smaller the aperture the less light gets in so we need a longer shutter speed to get the right exposure.

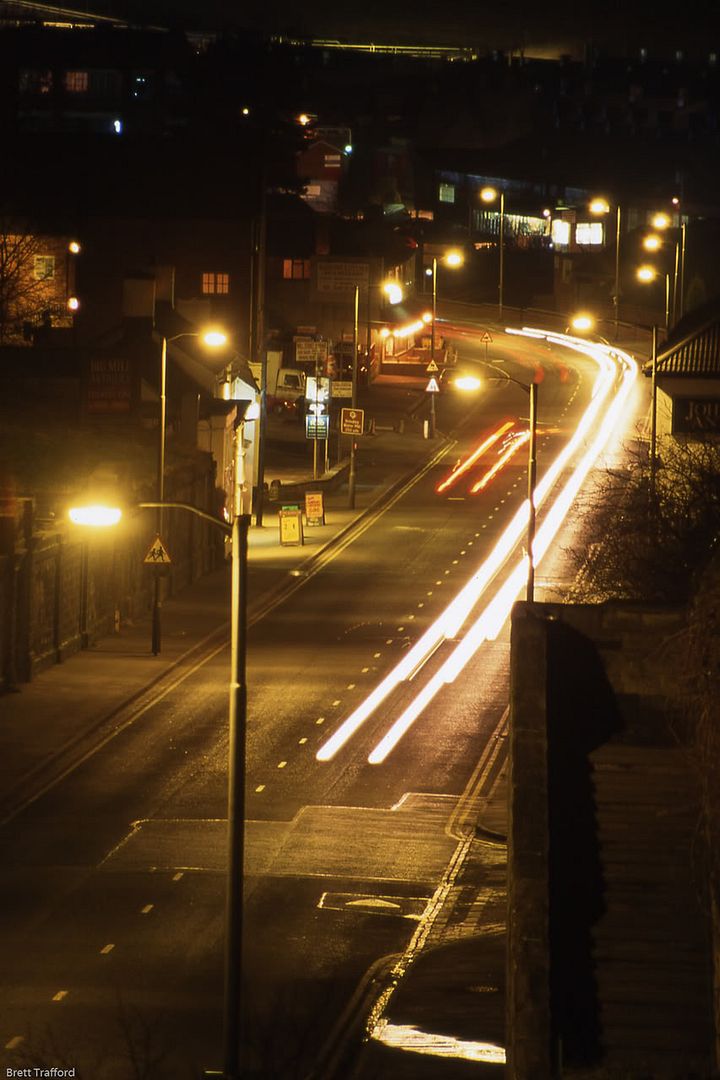
The shutters effect on the image is mainly the way it effects movement. Take a picture of a bowl of fruit, this is not going to be moving, so how ever long the shutter is open the image will not change, but take a picture of a jet flying past and in a second it will have come and gone. By taking the picture at a fast shutter speed the amount of time the image is exposed, gives the jet no time to move across the CCD or film, leaving you with a sharper image as it will have no movement blur. The shutter also effects camera movement, as unless you have the camera on a tripod it will be moving by a small amount all the time, this is called camera shake. A faster shutter speed will also stop this from showing, a rule of thumb for hand holding a camera is a shutter speed to match the length of lens, so a 50mm lens need a minimum shutter speed of 50th of a second and a 300mm lens one of 300th of a second.
Put these 2 together and you get to the heart of camera settings, a trade off between speed of shutter and depth of focus, the auto setting on the camera will try to balance these two, giving a middle of the range shutter speed and aperture. A sports setting will try to pick the fastest shutter speed, to freeze the action, the landscape setting will try to pick the smallest aperture to give the greatest amount of sharpness in the image, and both will limit the selection based on the settings that give the correct exposure.
In most instances you will stick to these guidelines, but you could do the opposite, use a slow shutter speed on a fast subject to inject some movement into the image or a wide open aperture on a landscape to make only one item stand out as sharp. This can be done on a camera with only a limited number of settings if you pick the wrong one for the subject, as the camera will not know what it is taking and just do as its programmed.


4 comments:
This is so helpful Brett. Thanks.
Wow Brett! Putting the last two lessons together - I all of a sudden have a different understanding of my new camera. Now I need to try out the different settings.
Just an eye opener for me! Well done Brett! You said it was very hard to write - but you made it look easy and that's the clincher isn't it?!
Excellent explanation. Time has got the better of me and commenting has been lax. This is so well put together for the novice.
Brett, this is great! I am a very amateur photographer and this is so clear! I love this.
Post a Comment