When i first stumble across a new technique in photography it is usually not in the form of a how to guide, but just a random image with no explanation of how it was done. So my first step is to Google it. In the case of HDR images loads came up on the search and a few lead to some great how to articles.
My second step is normally to part read the guides and just have a go, make a mess of it, then go back and read the guilde all the way through (it must be a man thing).
Now as i have said there are lots of guides out there, i will link to a few at the bottom of the post, but what i found was missing in most cases was a collection of before and after shots.
Its all very well showing a collection of great images, but how can a novice know which shots are the best ones to work on, i have 1000's of images and it was just trial and error that gave me the insight needed and if i had just a few before and after shots to compare it would have saved me hours.
Here is my solution, a collection of 5 before and after HDR shots, i will try to post some more when i have the time. The first picture of the pair is the normal untouched image and by untouched i mean that nothing has been done to it, except cropping to match the finished HDR for better comparison, so these picture are not looking their best and could be improved by some time in photoshop.
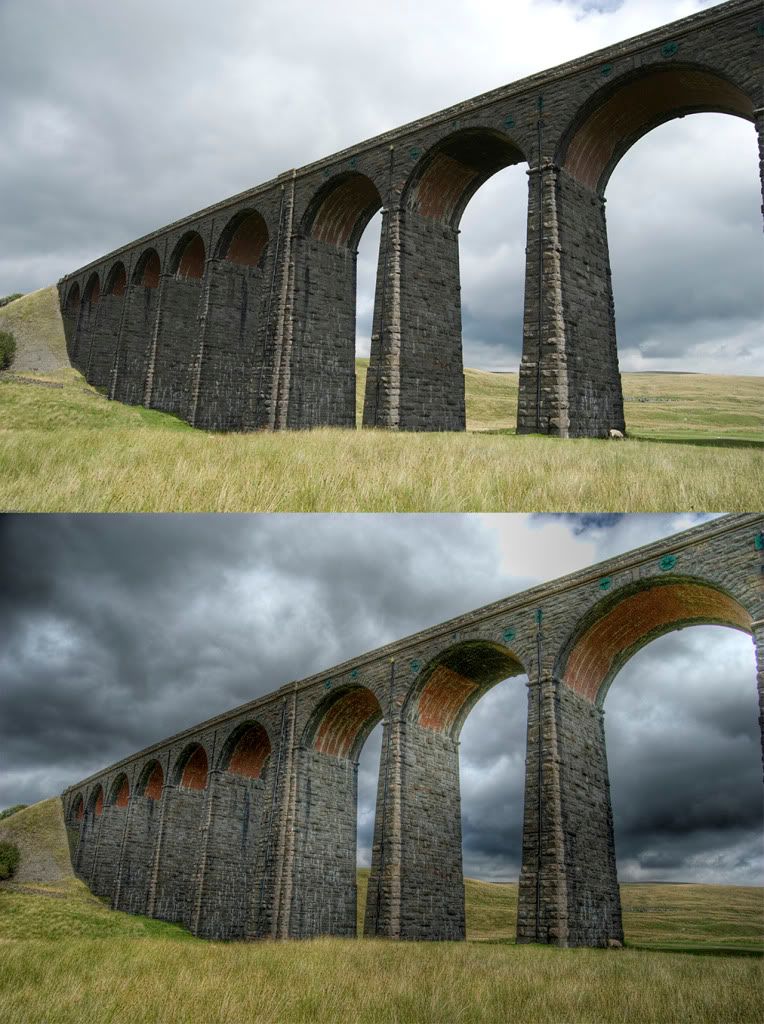
This first image is of the Ribblehead viaduct in Yorkshire and although the normal image was OK, by HDR-ing it the detail was brought out in the brick work and the sky made more dramatic.
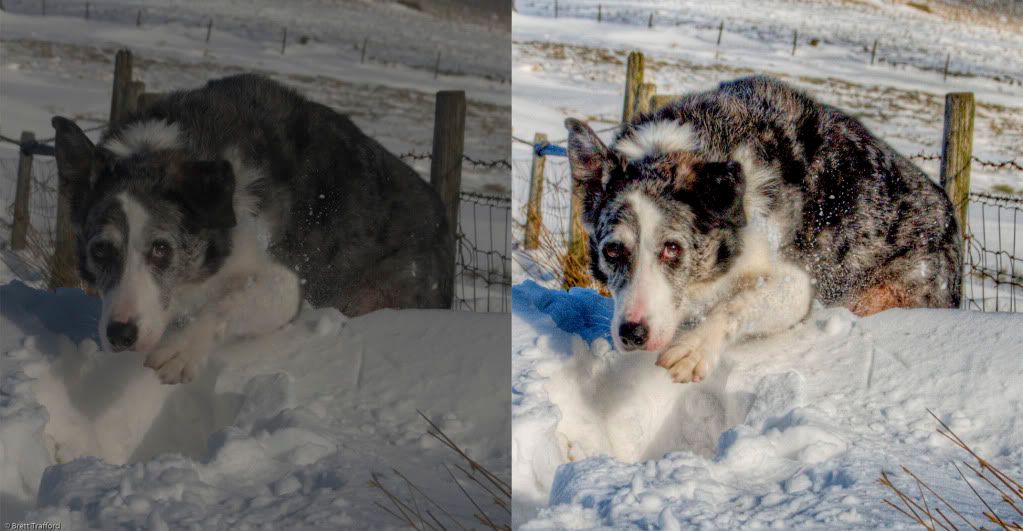
This is Kep, and the normal image was very poor, a bad exposure because of the snow, but as i shoot in RAW it was saved by the HDR.
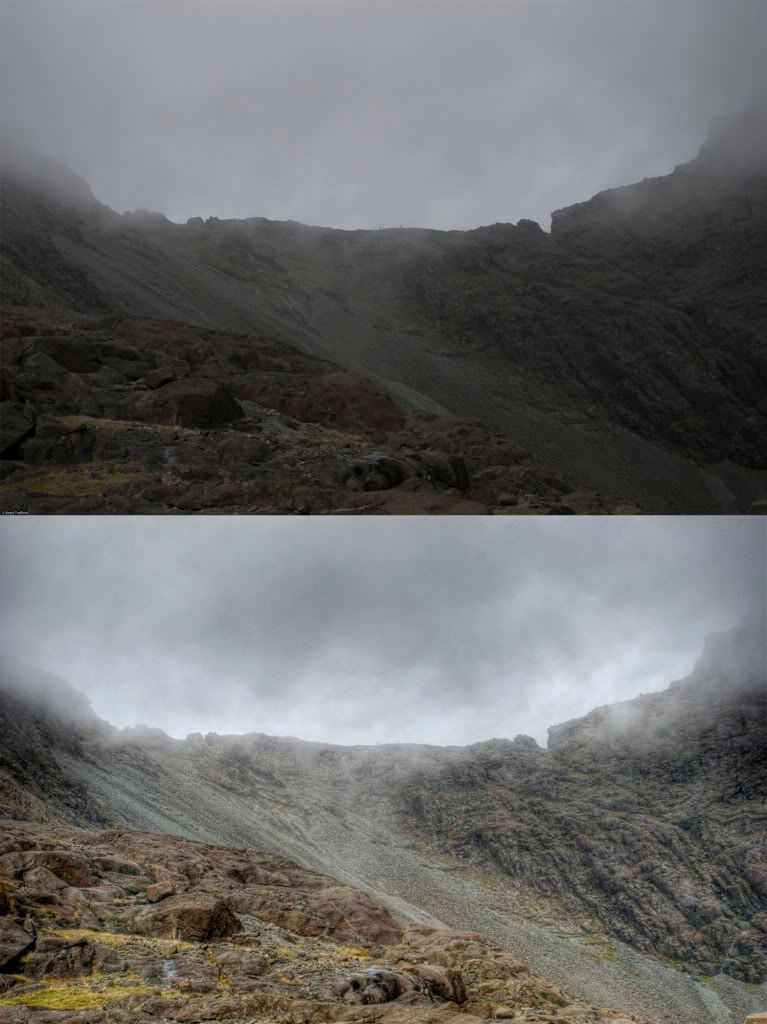
Another poor exposure, this time due to the subject matter and the conditions, with the much greater range in the HDR more of the details was saved.
One of the reasons i love the technique is that it highlights detail so very well, but it does play havoc with the colours, for me in this shot after comparing the HDR with the normal i think it could be just a bit too much and if i did it again the colour would get toned down.
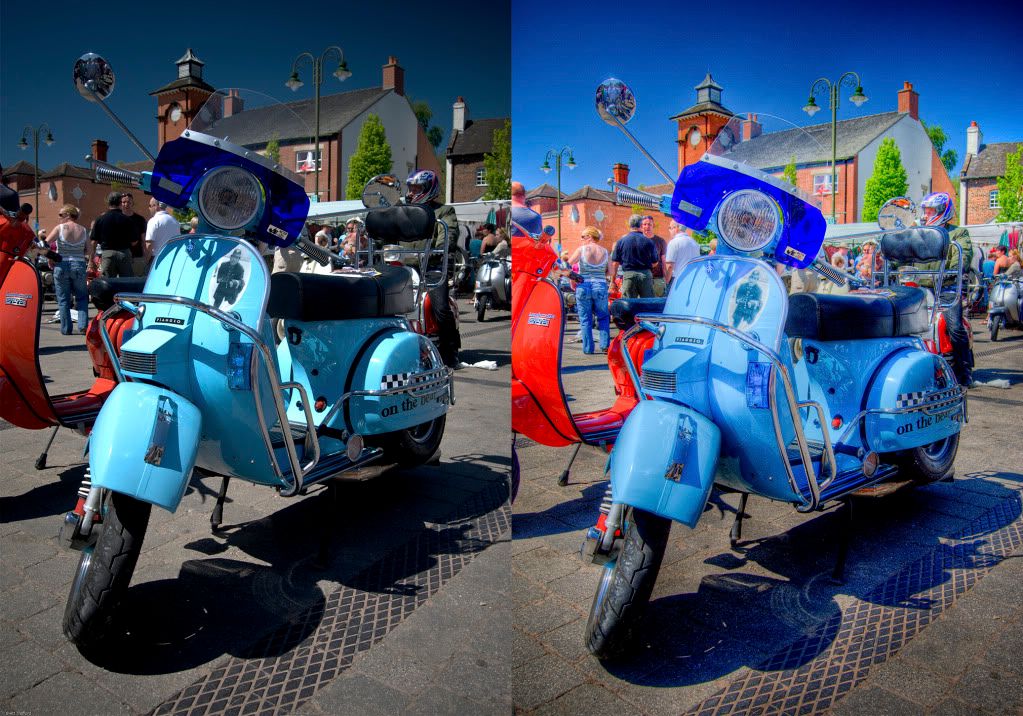
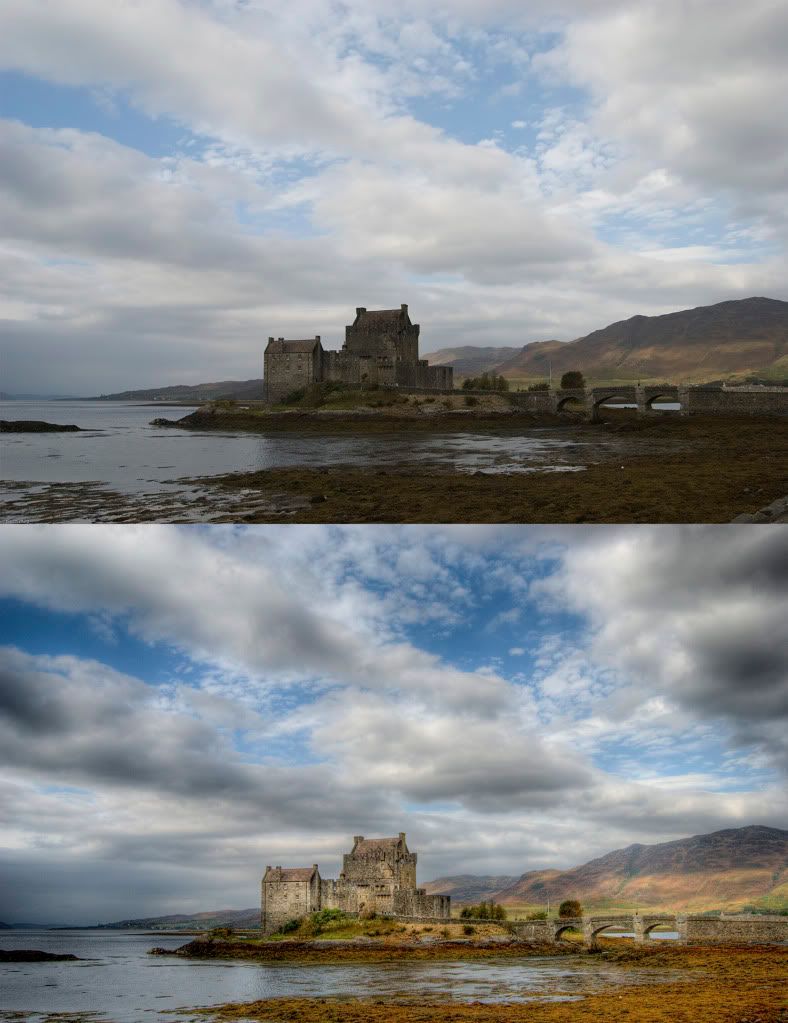 This image unlike the last one really works for me, it helps that i love the subject matter and feel so proud to have got such a good image of it. The boost of the detail and the colour lift the image away from the dullness of the normal shot.
As promised here are a few links to some tutorials, the first one was my favourite guide when i started.
dannorcott
backingwinds
photoshopcafe
thinsite


1 comment:
Thanks for the links just starting to play a little with HDR. Using Niksoftware plugin. http://www.niksoftware.com/index/en/entry.php
Chosing the right photo is important. Have had some attempts look terrible.
Post a Comment